How To Use a G Pro
Posted by ADRIAN V

The G Pro Vaporizer is an amazing portable dry herb vaporizer manufactured by Grenco Science, the same manufacturers of the revolutionary and breathtaking G Pen and MicroG Pen vaporizers.
Prior to the official release of the G Pro vaporizer, the Grenco Science website portrayed this unit as “a technological marvel offering conduction and convection vaping of herbs”.
Personally, I could not wait though I had a feeling it might not live up to the hype. I was definitely wrong in my feelings because the G Pro Herbal vaporizer is indeed an amazing vaporizer with a very commendable level of performance while also being very affordable, retailing for less than a $100.
Without a doubt, the G pro herbal vaporizer is the easiest vaporizer to use. With just 5 clicks on the power button and a few temperature adjustments, you are good to go.
Getting good quality hits from your G Pro might involve a learning curve however keep reading because in this article I will tell you a number of steps on how to use the G Pro Herbal vaporizer.

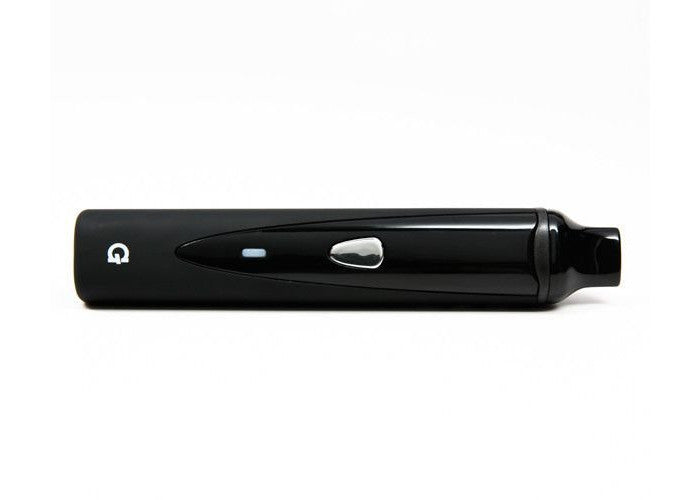
G Pen Pro Vaporizer
$48.74 $74.99
For beginners, after unboxing your G pro herbal vaporizer with all its accessories in place, ensure that the unit is fully charged.
You can confirm by plugging the charger to a wall socket and if the vape displays green light then it has a full charge but if a red light surfaces, it implies that the unit is not fully charging.
Once this hurdle has been passed, you manually remove the mouthpiece by simply applying upward pressure to either side of the unit. Once the mouthpiece is taken off, the oven chamber is exposed and then we load the chamber with dried herbs.
Now since the G pro herbal vaporizer operates on a conduction heating method it obviously means that your herbs ought to be finely grinded since there is direct contact with the heating element. I make use of the chewy herb grinder and it has not disappointed me for once.
At this stage, you should ensure that the unit is still powered off and ensure the chamber is not over-packed with your ground herbs though it should be filled to the top, after which the detached mouthpiece is installed back in position.
With 5 clicks on the power button located on the body of the unit, the G Pro is turned on. The G pro features 3 temperature settings- 320˚F, 380˚F, 420˚F which are represented by colour red, green and blue respectively.
Adjusting this temperature setting would require you to hold down the power button, optimal vaporization of your herbs is attained when there is screen light indication on the power button.
And at this stage, the sleeve of the mouthpiece is attached and off you go inhaling quality flavors into your lungs.
Note that the initial heat uptake 60 -90 seconds and after three minutes of activation, the G Pro vaporizer automatically turns off, which means you will have to repeat the process all over for another vaping session.
Cleaning the G pro herbal vaporizer is very paramount to the quality of hits you get out of the unit.
It is advisable that you DO NOT use water or cleaning solution on any part of the unit itself.
Rather you should first ensure that the unit is turned off and has cooled down and with the aid of the G Cleaning Brush, you clean off any remaining material from inside the stainless steel heating chamber.
You should also ensure to clean the mouthpiece, preferably with rubbing alcohol while also cleaning or replacing the removable filter screen.
TAGS: